Delegating a .com.ar domain using Cloudflare
Delegating a .com.ar domain using Cloudflare can be daunting, but you might realize it's easier than you expected. Leverage their FREE DNS to power your sites.

Registering a domain in Argentina can be inexpensive. When writing this post, the price for a .com.ar domain is around 855 ARS (less than 3 USD). It can be a cheap way for someone to start branding their websites. Registering a domain name is useless unless you have access to a public DNS server to delegate your domain. Generally, DNS servers can be pricey, depending on your providers. In this guide, I'll show you can start delegating a .com.ar domain using Cloudflare, taking advantage of their free DNS.
A domain registrar offers domain name registrations. A registrar is an entity that allows you to register and purchase a domain. To have control of the response from the DNS service, you need to perform a delegation. A delegation is a process of defining alternate DNS servers that respond when looking for the authority of your domain or subdomain. You define a set of servers that take care of those queries.
Where to register a domain name in Argentina?
Currently, Nic.ar is the most significant authority in Argentina that offers domain name registrations. Registering a domain is simple enough, and the site walks you through the entire process. There's a caveat though if you are a non-Argentinian resident, you need to validate your identity as described here.
How to delegate a .com.ar name?
Delegating is a simple process too. After buying the custom domain and logging in to the Nic.ar registrar page, you will see the following:
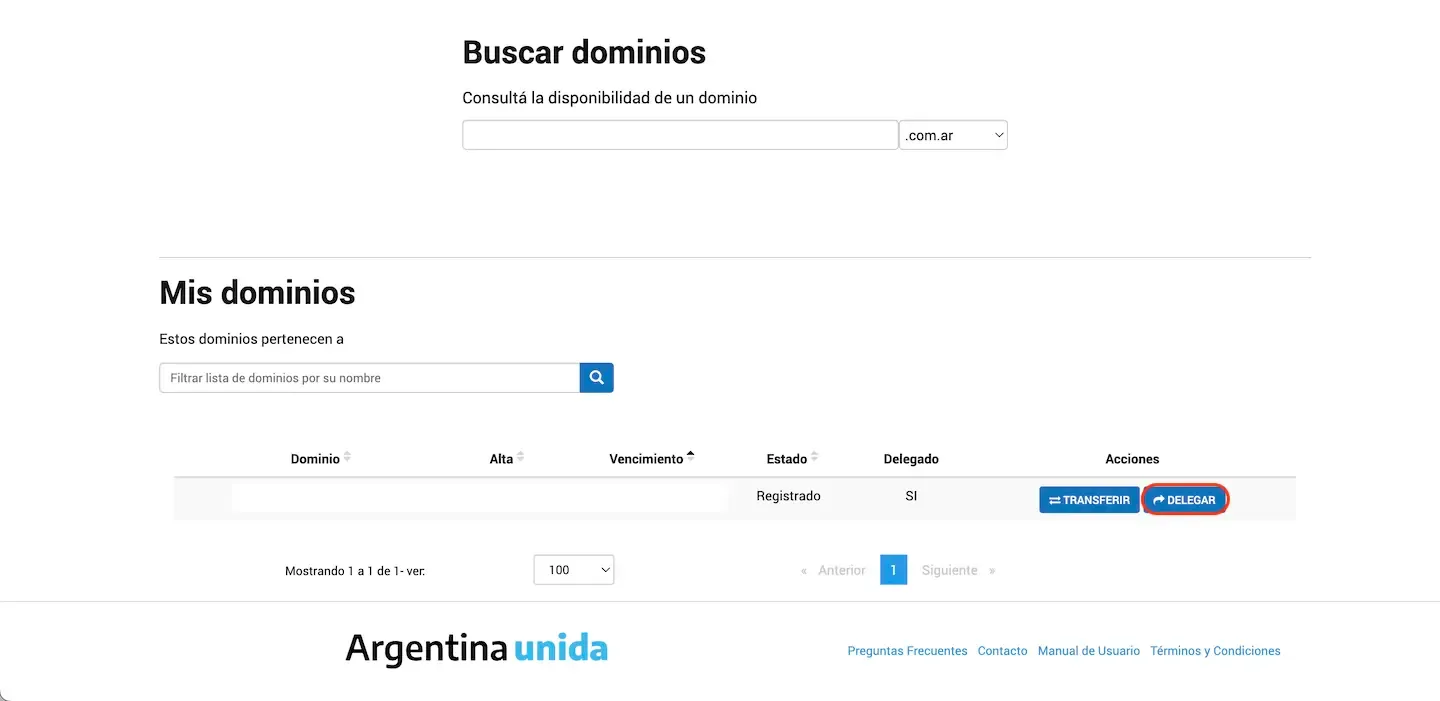
You can select the option to delegate your domain. You will then need to choose to start a new delegation, as shown here:
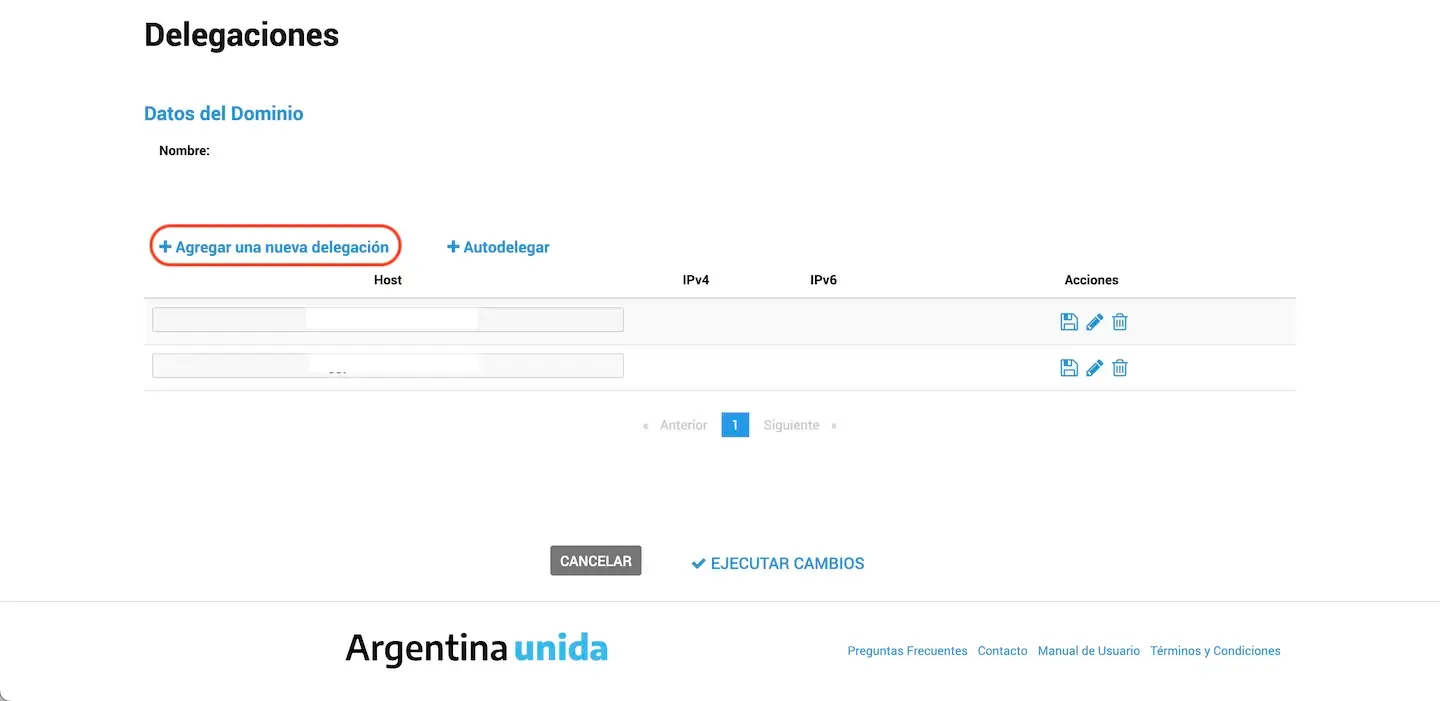
The only missing step is to add your DNS server names and save them. You might not have your nameservers yet, so keep reading to learn how to obtain them from Cloudflare.
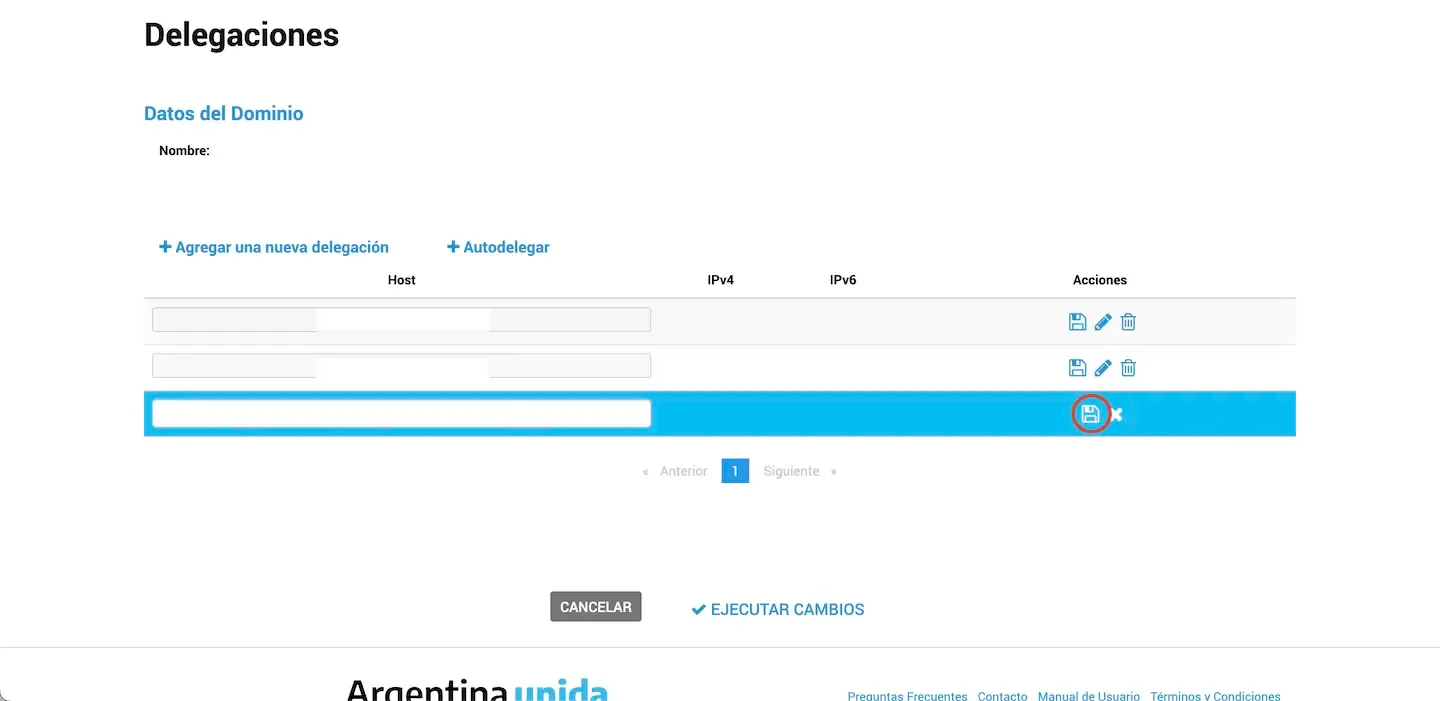
You can list as many nameservers as you want. The delegation process might take up to 1 hour to start working.
Nic.ar also offers a tutorial on delegating domains, which goes into more detail.
Using Cloudflare's free DNS
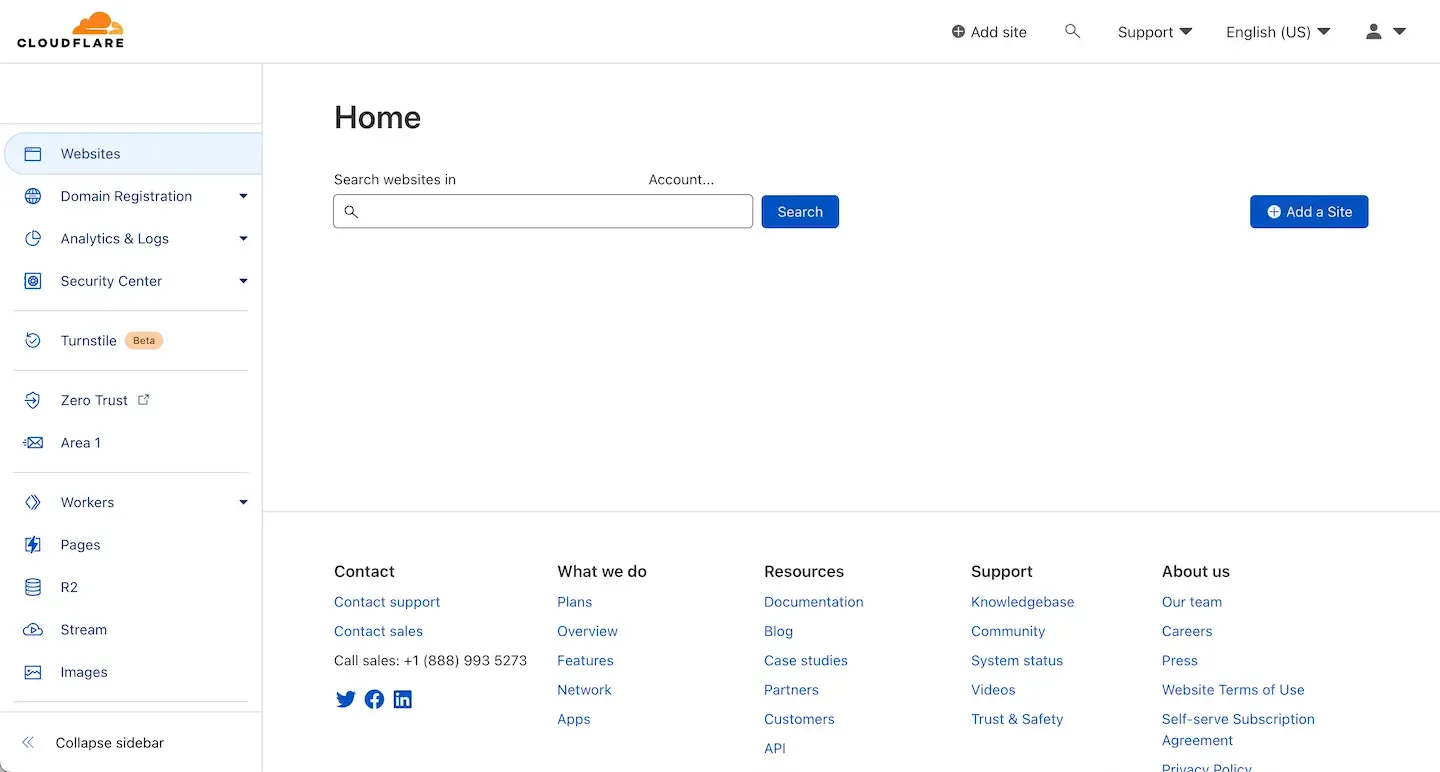
The first step to using Cloudflare's free DNS is to create an account in Cloudflare. Once you have an account, you can head into the "Websites" option in the menu and add a site.
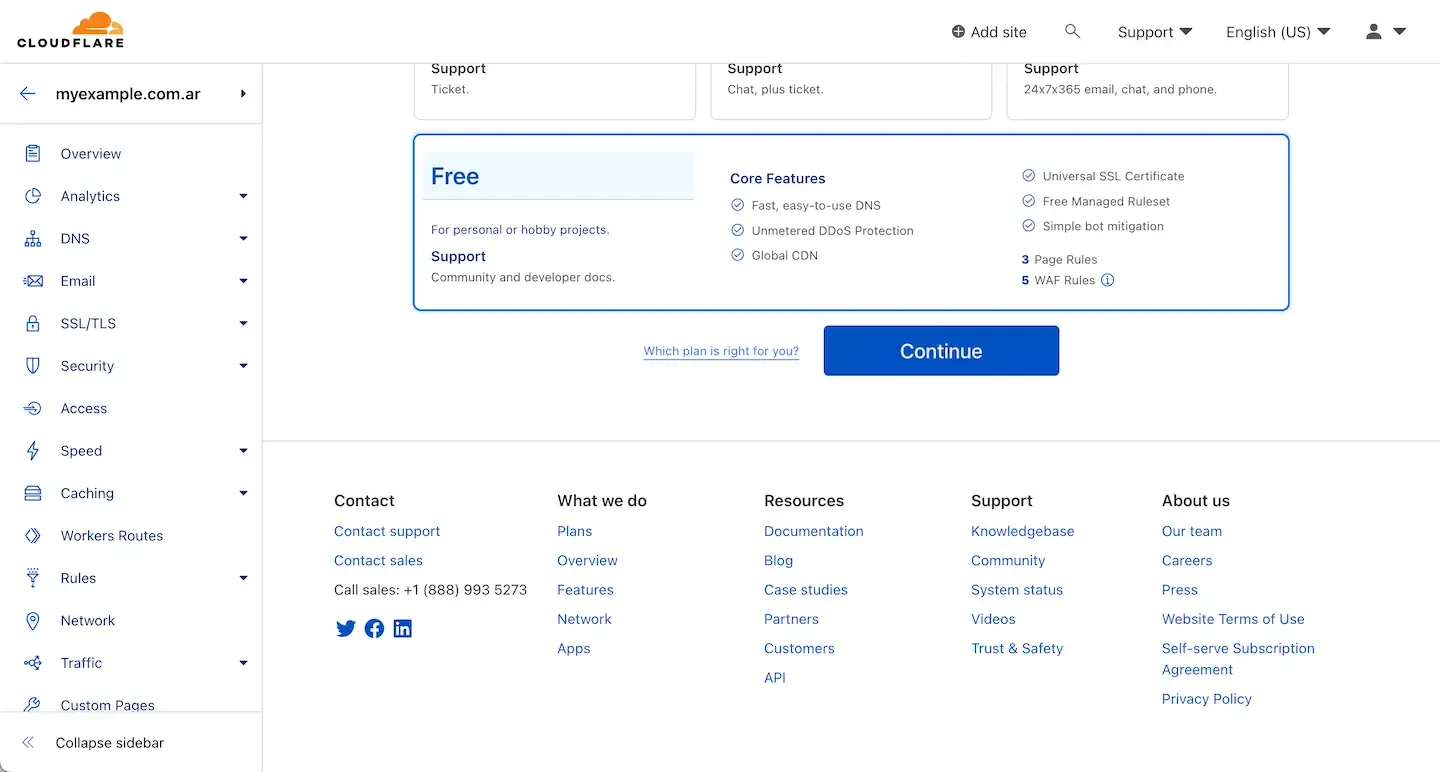
After using the same domain name you registered, Cloudflare will run some checks and prompt you to select a pricing plan. I recommend you choose the free plan they offer.
After choosing the plan, Cloudflare will run some checks for any existing DNS configuration, and you will have access to the management console for your site. When you access a configured site for the first time, it shows you Cloudflare's nameservers you should use. In my case, they were tosana.ns.cloudflare.com and ziggy.ns.cloudflare.com, but yours might differ.
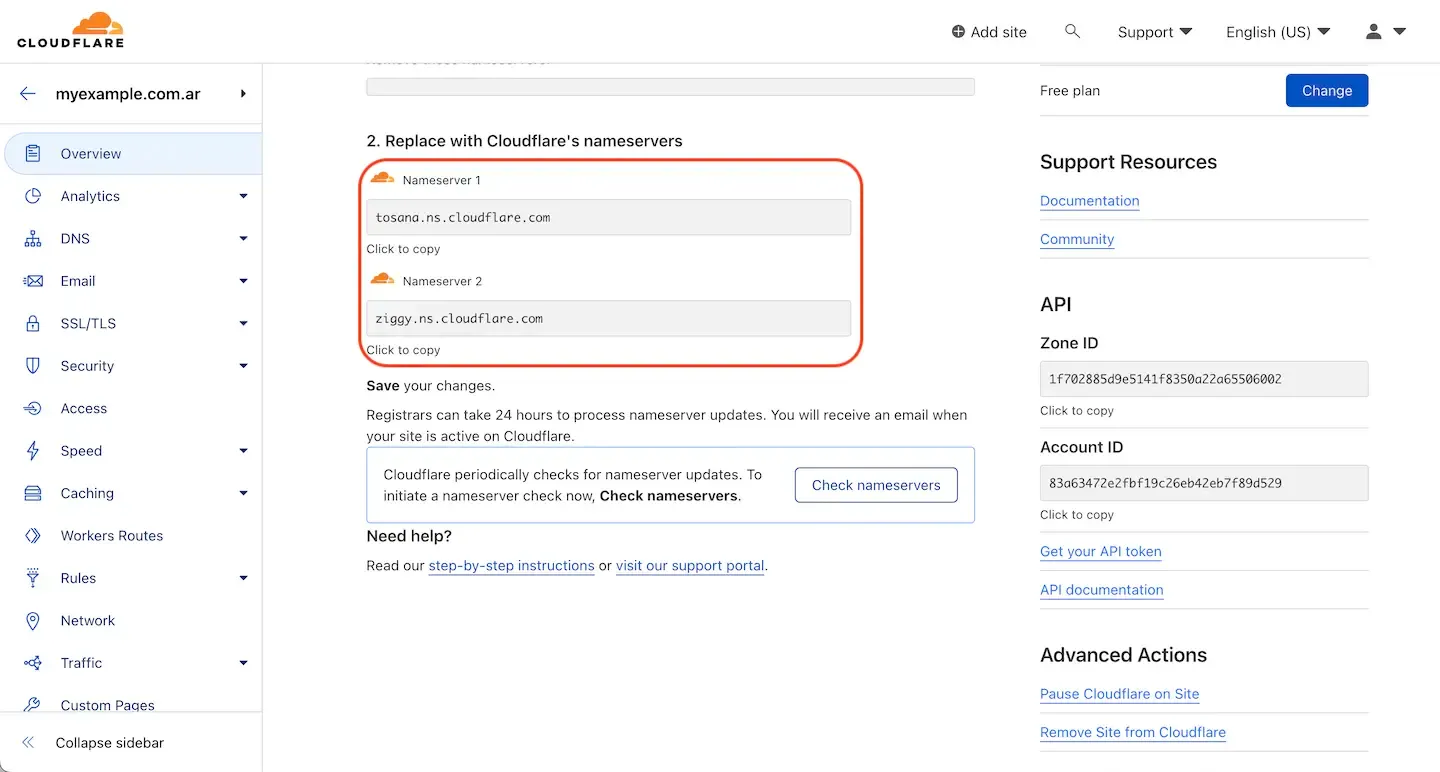
The nameservers you see are the ones you should use in your .com.ar domain delegation. Note that it might take 24 hours for the nameservers to notice updates.
With DNS resolution working, you should add an A or AAAA record from your apex name to your public IP address. It is optional, as you might not have an IP address to use, so read on to see instructions on that case. You can also add an MX record for email configuration.
What if you already have some existing infrastructure?
In my personal experience, I have infrastructure running on AWS, and I wanted my gonzalohirsch.com.ar domain to redirect (with a CNAME record) to gonzalohirsch.com. I didn't want to pay for another hosted zone, so I used Cloudflare DNS. More configurations are required to keep serving traffic with SSL under those conditions:
- An SSL certificate that includes both your
.comand.com.ardomains. Because AWS CloudFront doesn't support adding multiple SSL certificates to a distribution, a single certificate is required. With the AWS Certificate Manager, you can create a certificate that meets these requirements. A CNAME record in your Cloudflare DNS and your hosted zone in AWS is required to validate the certificate. You can add a DNS record in Cloudflare via the "DNS" menu option. Use this new SSL certificate in your CloudFront distribution. - Configure the SSL/TLS encryption mode to Full (strict) to correctly use SSL/TLS. It ensures communication is always via HTTPS so that your visitors and traffic are safe.
- A new CNAME record for your apex zone because you don't have a public IP address for your CloudFront distribution. Cloudflare supports CNAME flattening on the apex zone. It means you can have a CNAME record to resolve your new domain. You could have a CNAME DNS record for your WWW domain too.
I hope my personal experience helps you set up your site and DNS faster. Delegating a .com.ar domain using Cloudflare might be daunting, but you might realize it's easier than you expected. Having proper SSL/TLS can help you rank better too. Don't overlook that aspect.